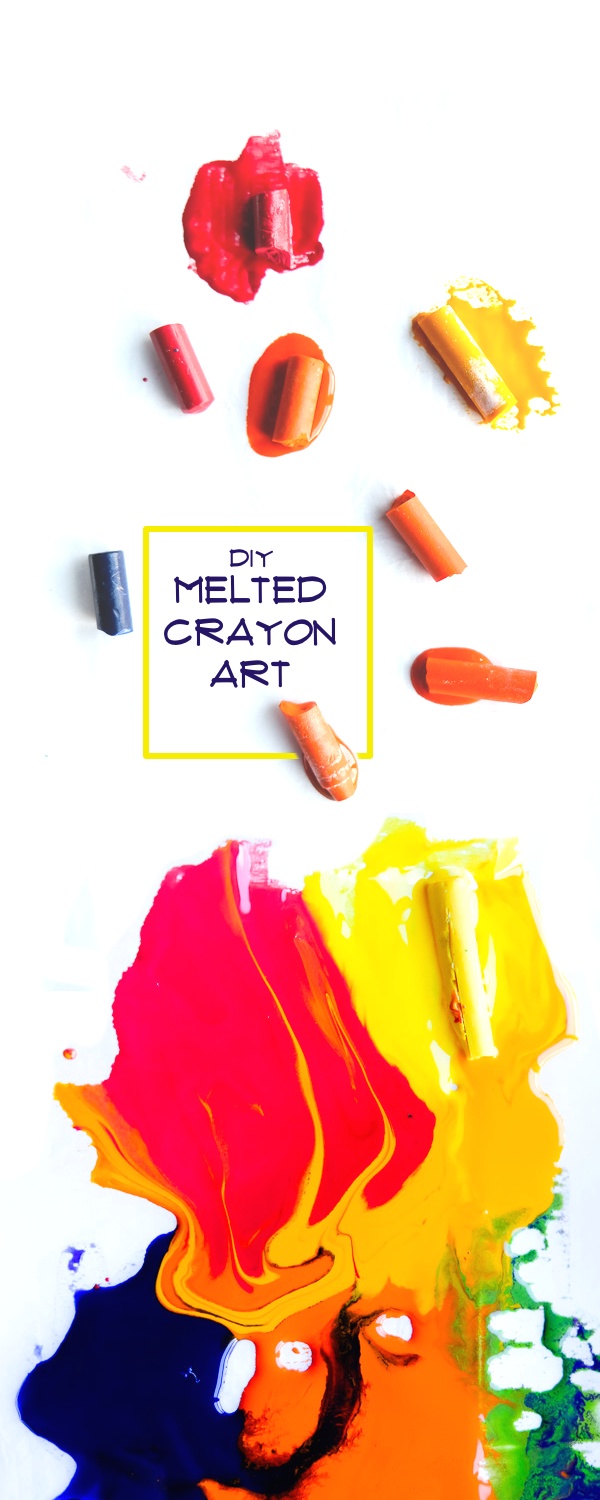
A few months ago I came home with an old vintage heating tray.
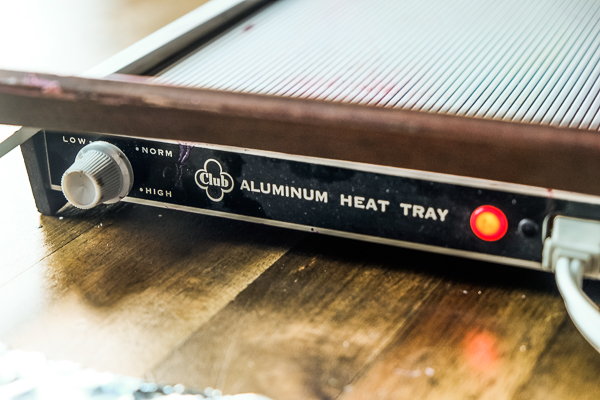
Just seeing the heating tray jogged so many good memories of making Melted Crayon Art when I was a kid.
I couldn’t wait to share this experience with my 8 year old son, Cooper!
A random trip to the thrift store has provided hours of entertainment in my home.
He loves it just as much as I do!
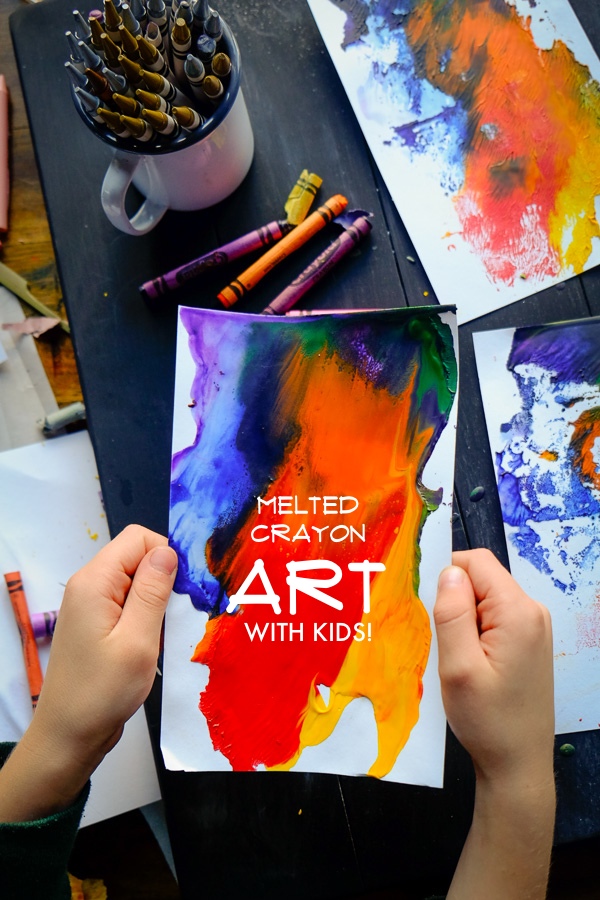
We’ve been spending at least one night a week after school playing around with colors.
We talk about our day.
We talk about colors.
We talk about how colors make us feel.
We relax together.
We laugh and make funny word combinations.
We learn from each other.
all while melting crayons.
It’s never about the end result for us.
It’s about the journey along the way.
It’s about learning how colors change and shift.
It’s about learning what colors blend well together.
It’s about learning how to be patient and letting things develop.
It’s about trying new combinations.
It’s about play.
It’s about creating magic with simple things.
It’s about quality time, with undivided attention.
It’s seriously one of my favorite things to do as a parent!
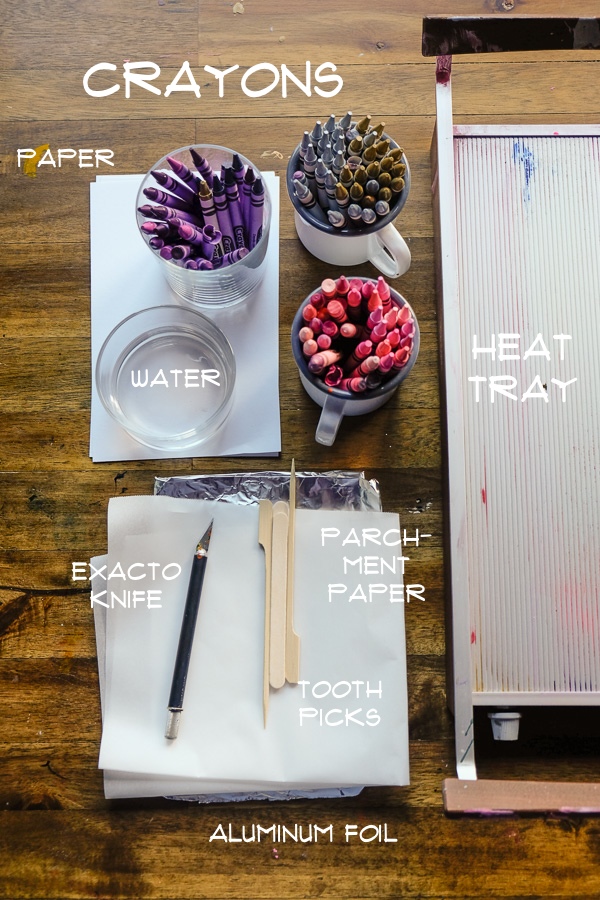
WHAT WE USE:
HEATING TRAY
You can find them on ebay, look out for them in thrift stores and you might be able to find some on Amazon.
I bet you could use an electric griddle too!
Just know that whatever you use, use good judgment. You don’t want crayon toxins in your food. My heating tray is just used for crayons. CRAYON ONLY!!!
CRAYONS
Use the ones you’ve got!! My mom saved a lot of my crayons from my childhood and when my niece was little, so we have quite a ton to go through. If you’re looking for a particular color scheme, you can buy crayons in bulk on Amazon. I did it for my ladies craft night last month to get all of those Valentine’s colors.
ALUMINUM FOIL
Crayons have a lot of oil in them. If you’re not careful the oil will get into your heating tray. Before I turn on the heating tray, I place a piece of aluminum foil and wrap it around the top, making sure to cover the edges to prevent the crayon oil getting into the heating element. Put on the aluminum foil before you heat it up or else you’ll burn your fingers trying to put it on a hot heating tray.
PARCHMENT PAPER
This is what we melt crayons on. If you use regular paper (like we do sometimes) the oils will soak up in the paper. Using parchment paper makes a better print. It’s also really easy to use/makes for a quick cleanup.
EXACTO KNIFE
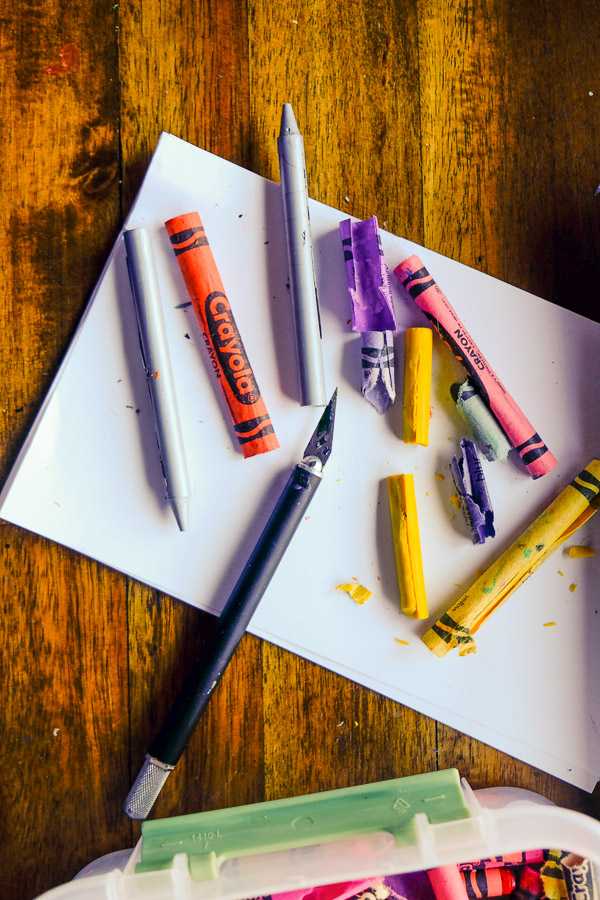
Taking the wrappers off of crayons is a pain. Use an Exacto knife and cut the wrapper off.
(I find it to be VERY satisfying)
TOOTHPICKS/POPSICLE STICKS
You’ll want to move around colors, but you’ll burn your hands if you’re not careful. Use sticks!
GLASS OF WATER
Keep a glass of water nearby. You never know when little impatient fingers will strike!! Dip your finger(s) that have wax on them in cold water. The wax will harden instantly, and you’ll prevent some burning from happening. Watch your sleeves and clothes. Wax is hard to get out of cloth. Use common sense and be careful!
PAPER
For our crayon projects, we always use a heavy cardstock or large index cards. You’ll want a paper with some weight. It will make the process a bit easier if your paper is thick.
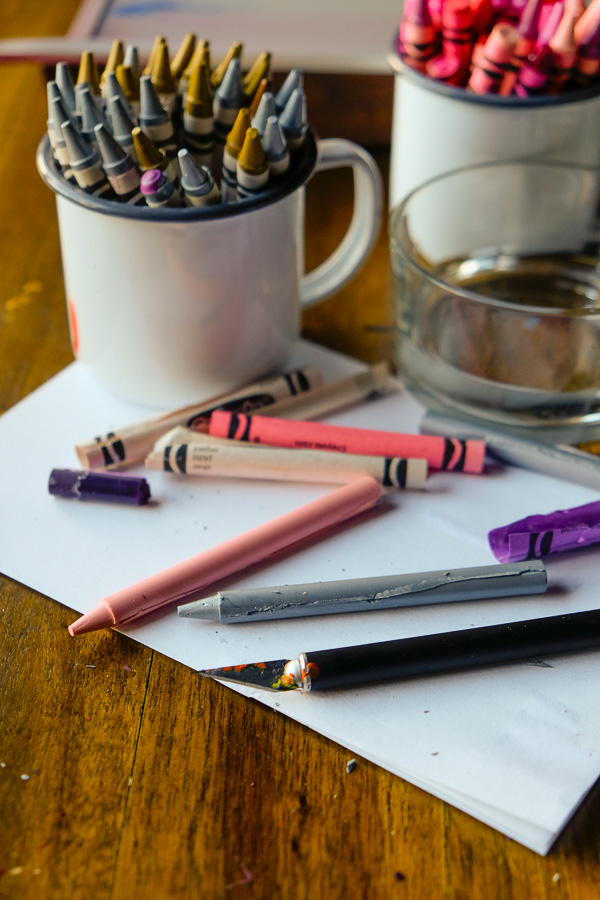
Ahhhh the smell of crayons.
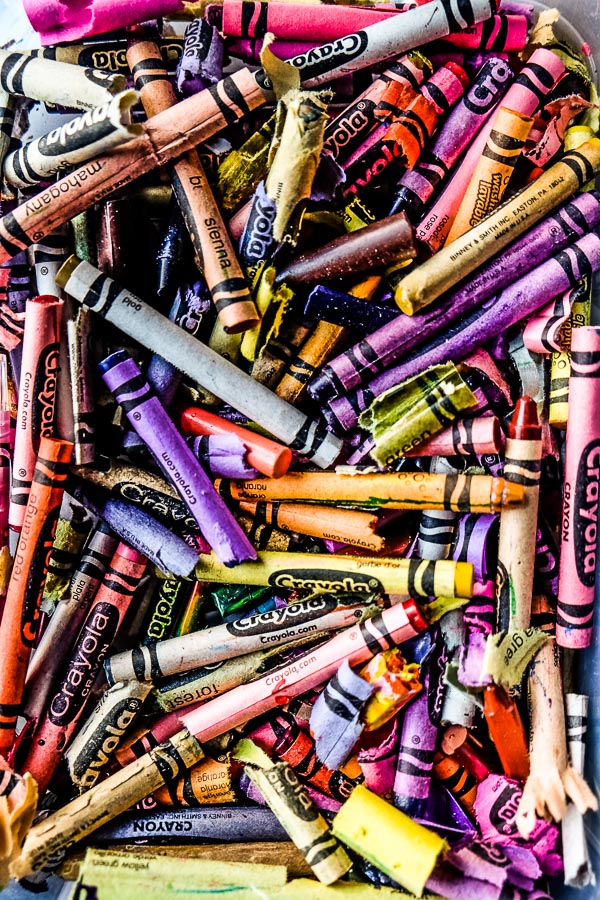
Speaking of crayons, you should watch this crayon video from my childhood:
Here’s my heating tray!!!!!!!!!!!!!
CRAYONS ONLY.
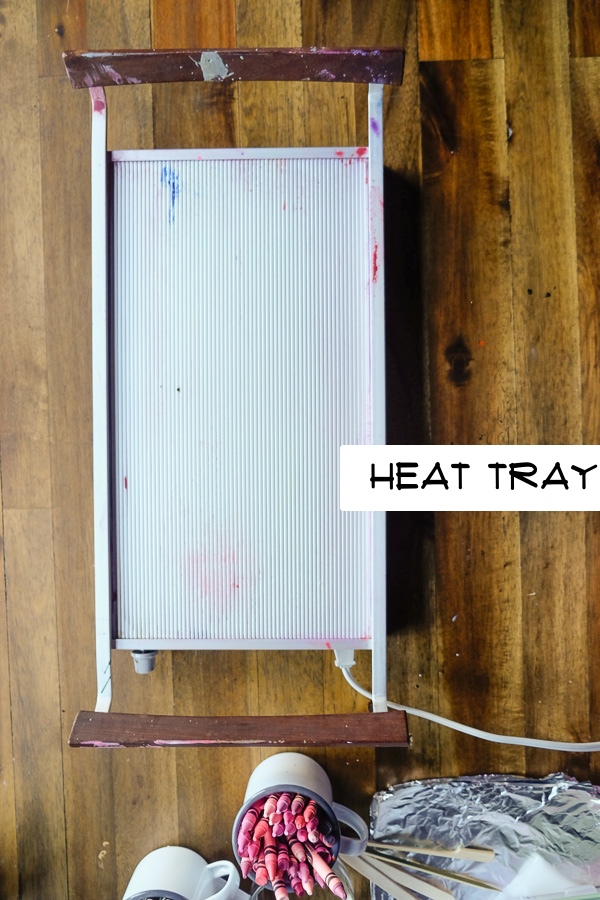
So, I wrap it in foil.
Then I add parchment on top.
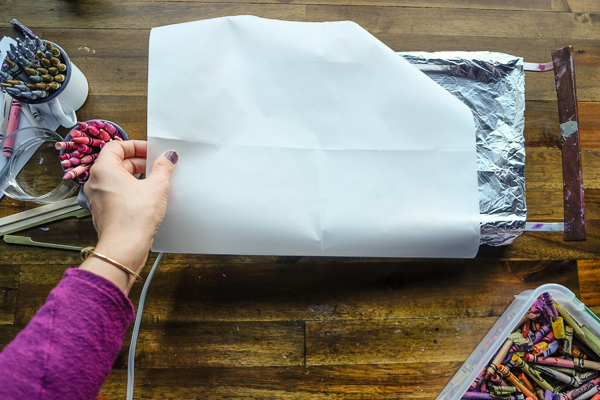
I cut it to fit. Heat up the tray. AND GO.
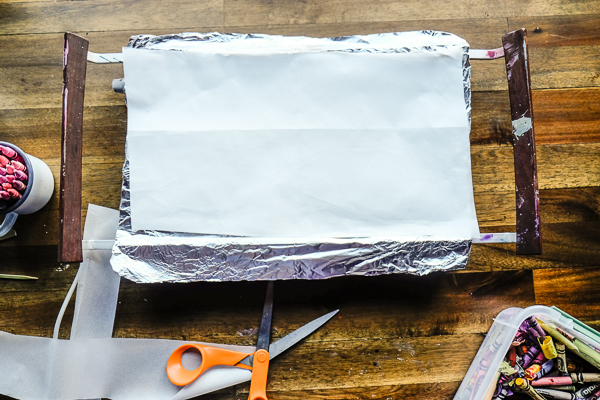
Now you can melt the crayons on top of the parchment.
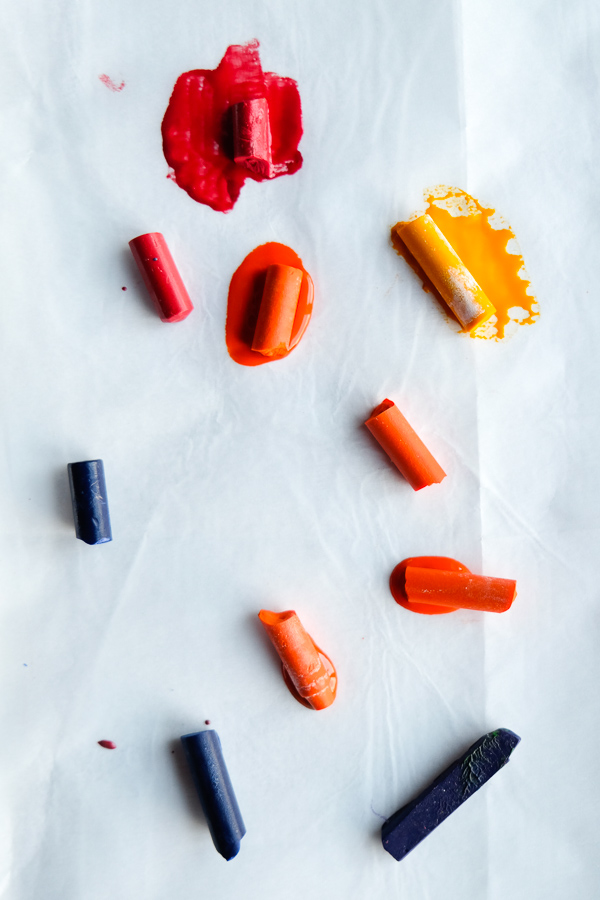
Takes a few minutes for them to melt fully.
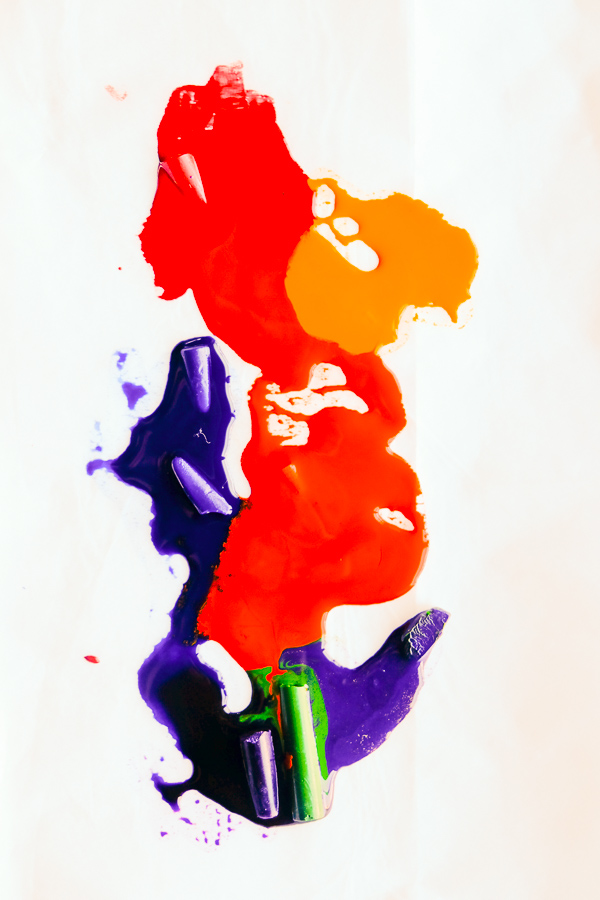
Use a stick to mix it up.
PLAY.
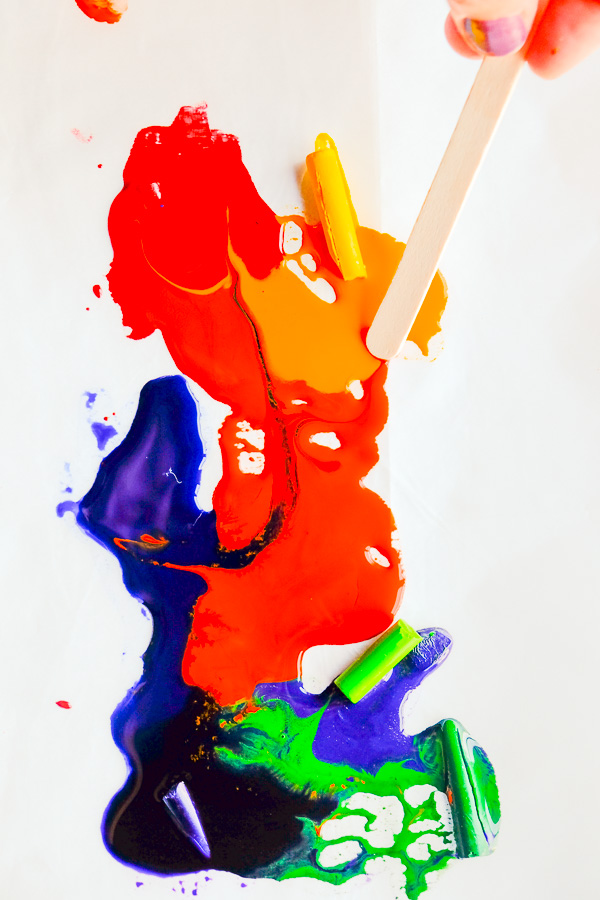
Swirls are fun.
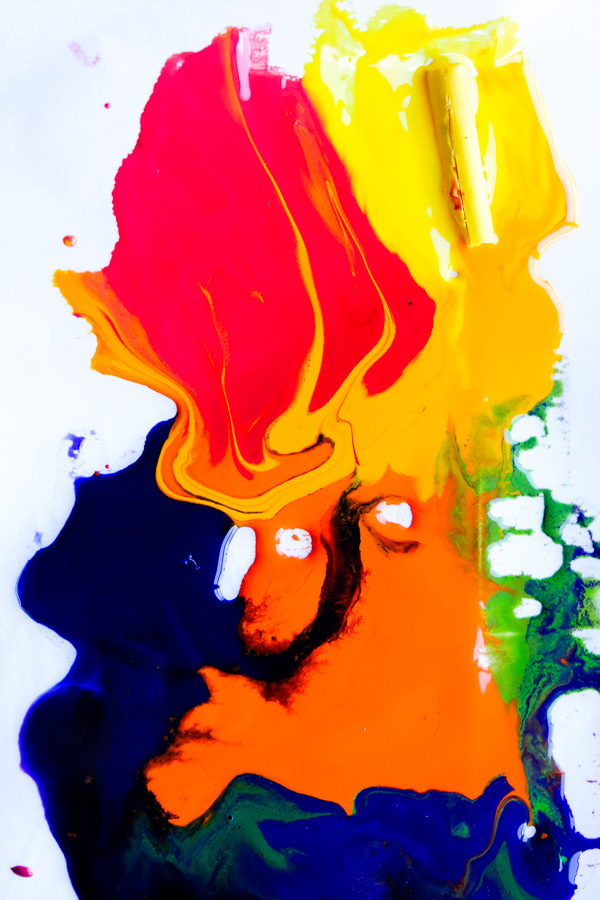
When you’re ready to make a print, place a piece of paper down.
We use big index cards!
Pull the paper up slowly. I find it’s best to pull from an edge.
Pretend you’re peeling back the back of a poloroid.
AND WATCH THE MAGIC HAPPEN.
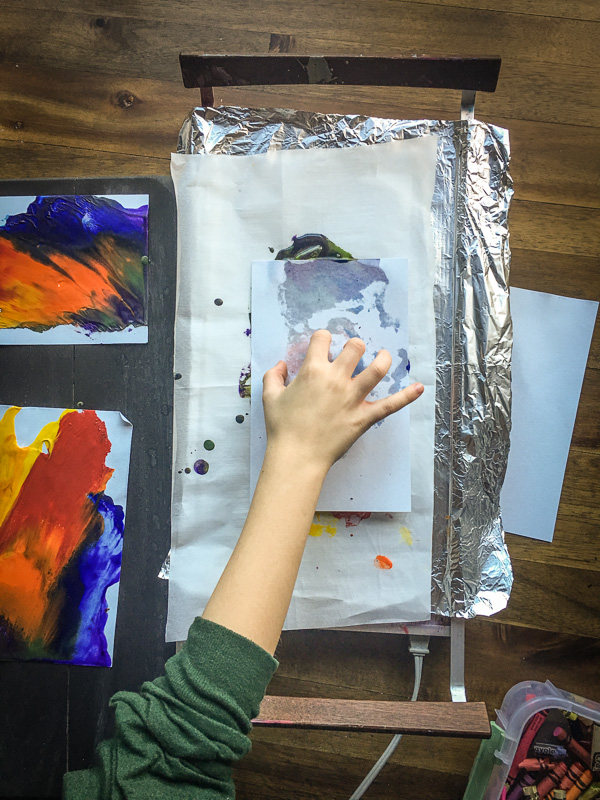
TADA.
We find that each color batch can produce 4 pretty good prints.
You can see that the bottom right is the last print pulled.
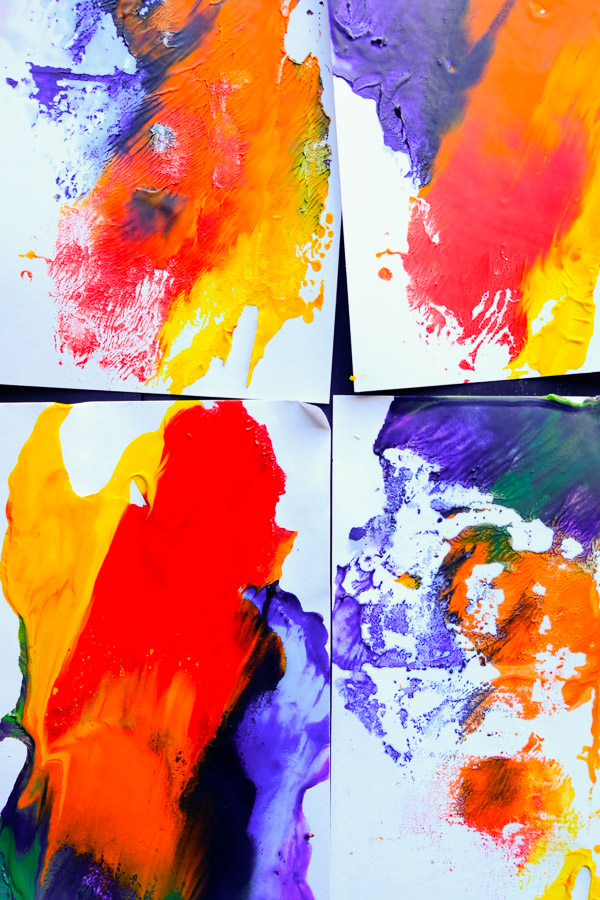
The first prints are pretty dense.
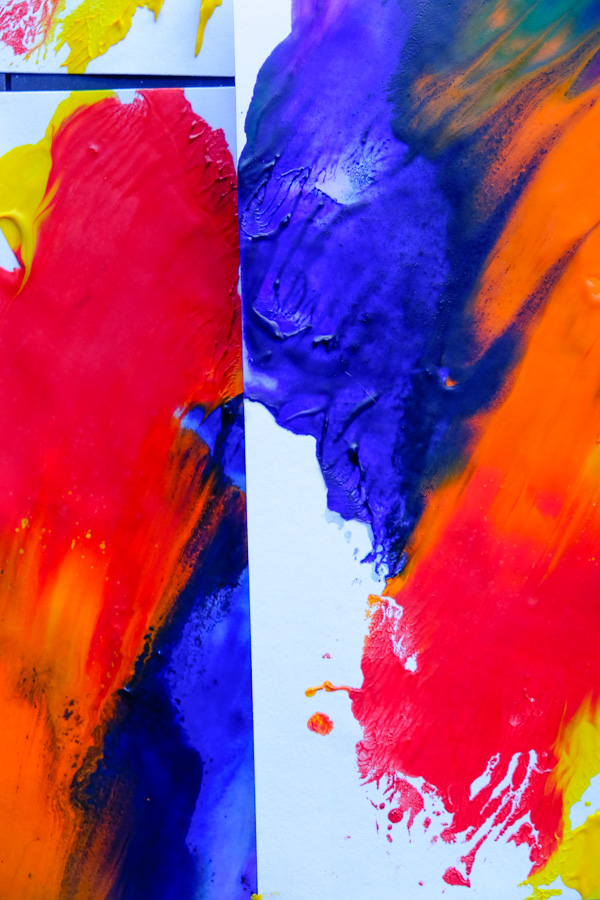
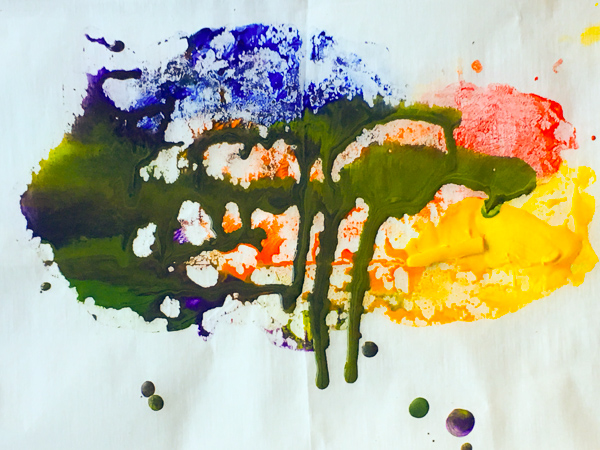
And sometimes you find beauty in whatever is leftover on the parchment paper.
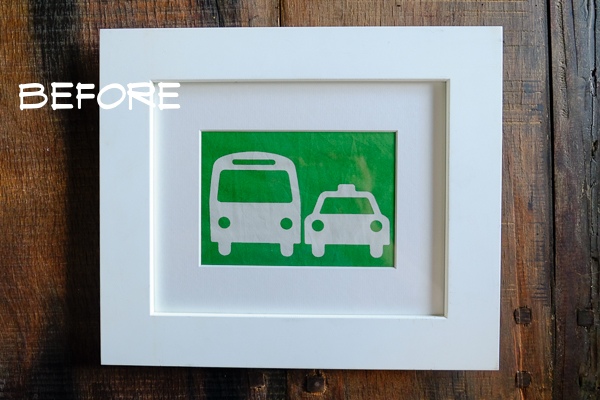
Time to make something old brand new again.
OLD: Framed fabric from Cooper’s nursery.
Insert crying emoji here _______.
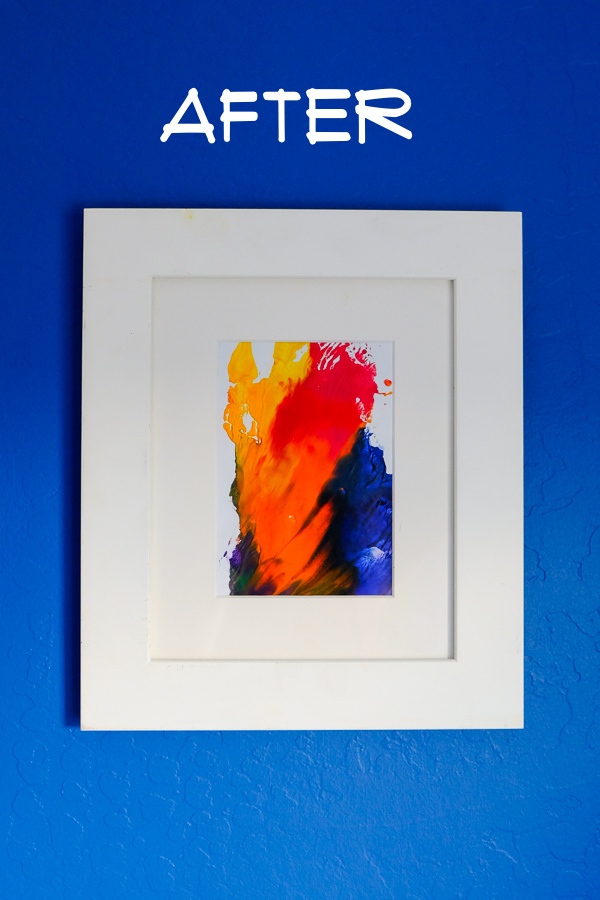
NEW: Melted Crayon Art!!!!!!!!!
I love how it turned out.
More examples of crayon art:
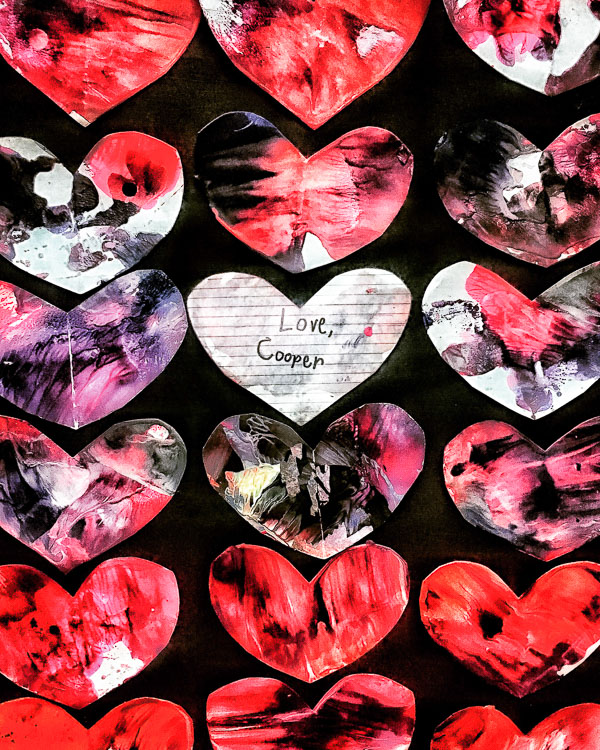
Cooper’s Valentine’s Day cards:
A nice orange/yellow/pink/red scheme
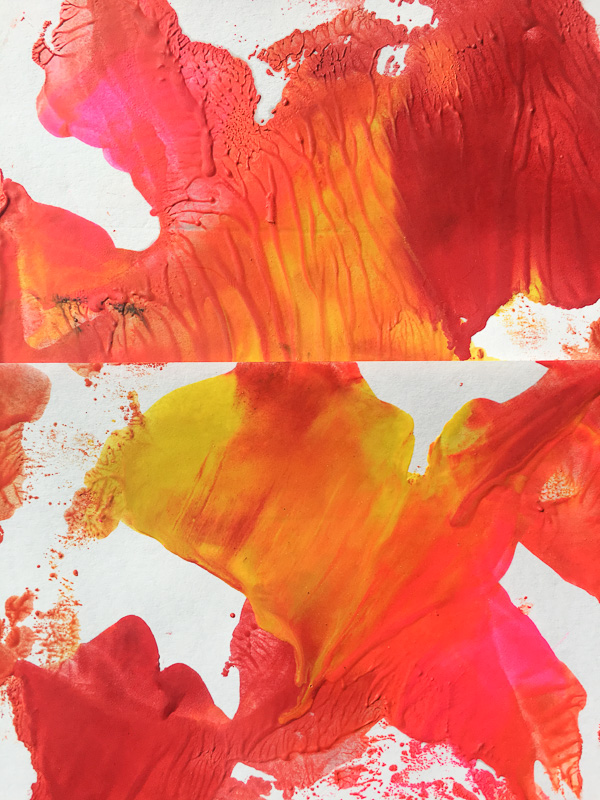
I love how it can end up looking like topographical maps.
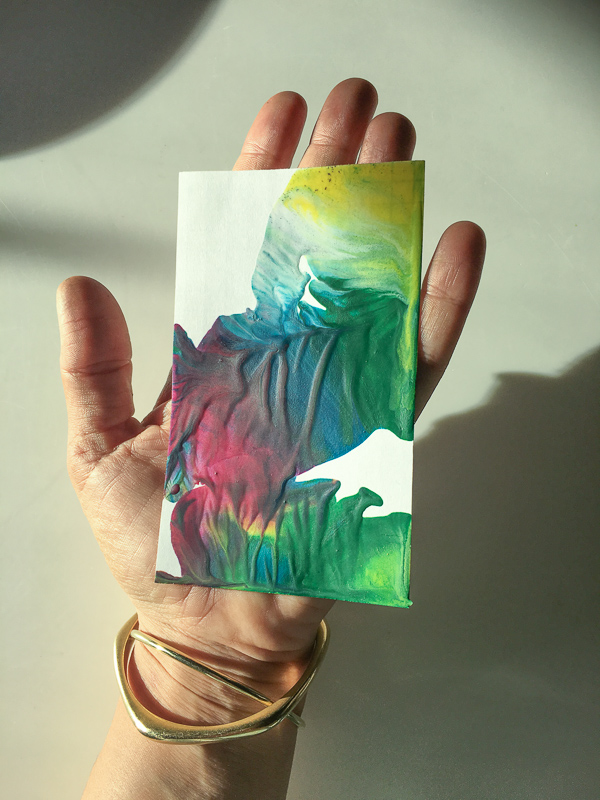
This was a crazy day and alllll of the crazy energy went into art making.
I am grateful for art making.
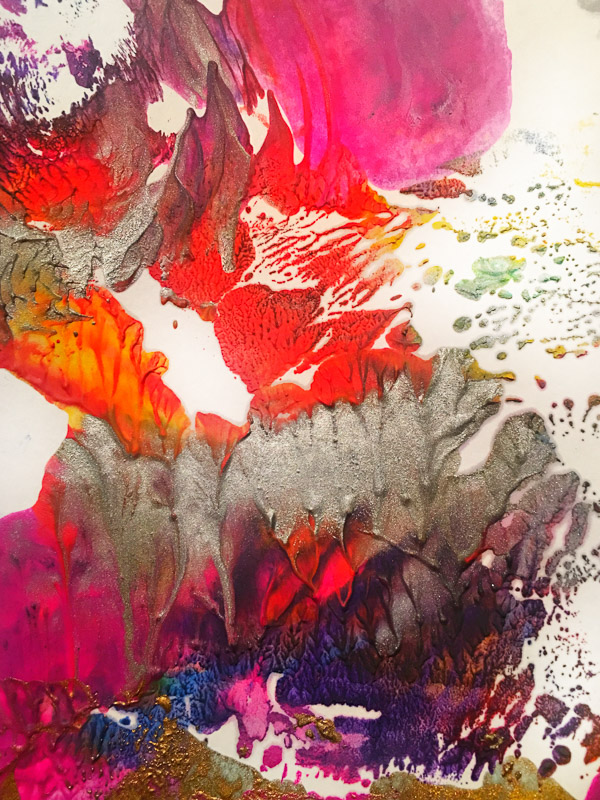
Yes.
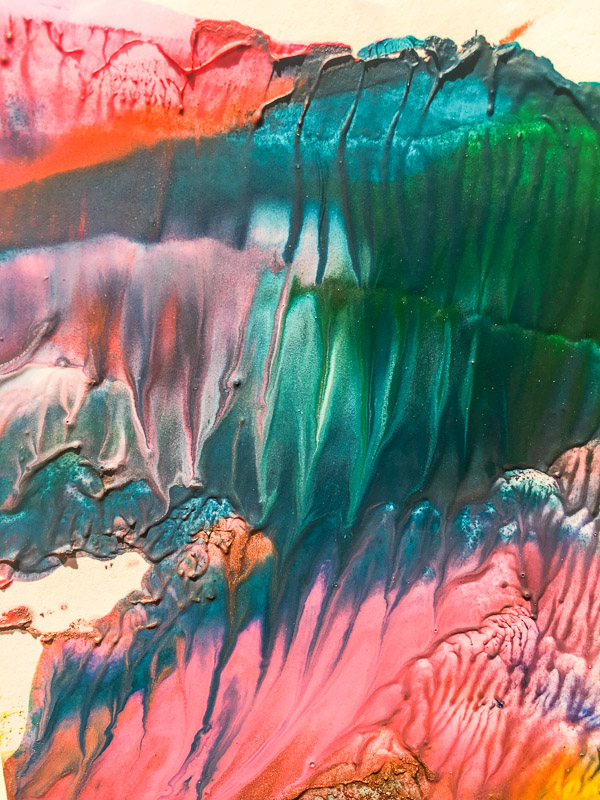
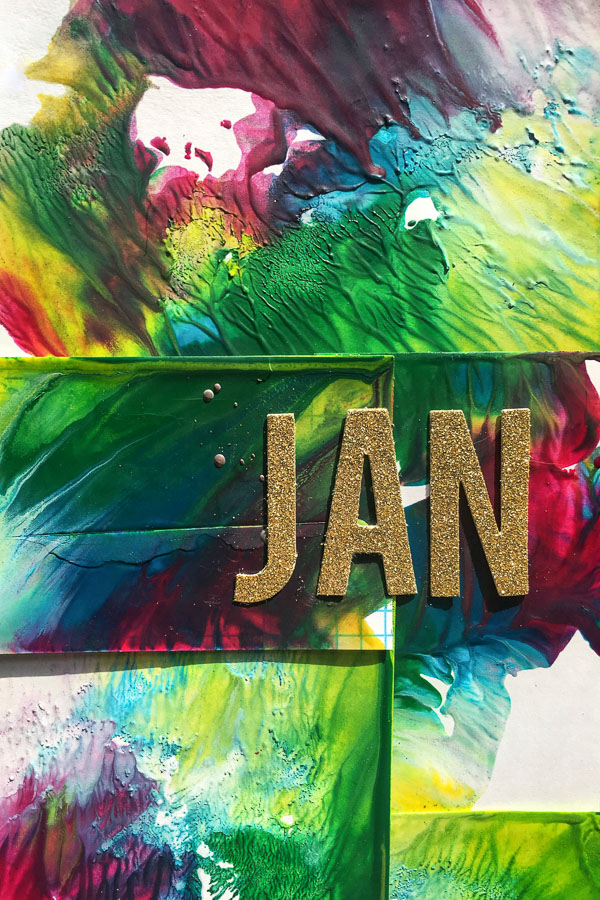
This was my color scheme for January:
Hope this inspires you to make some melted crayon art of your own!


