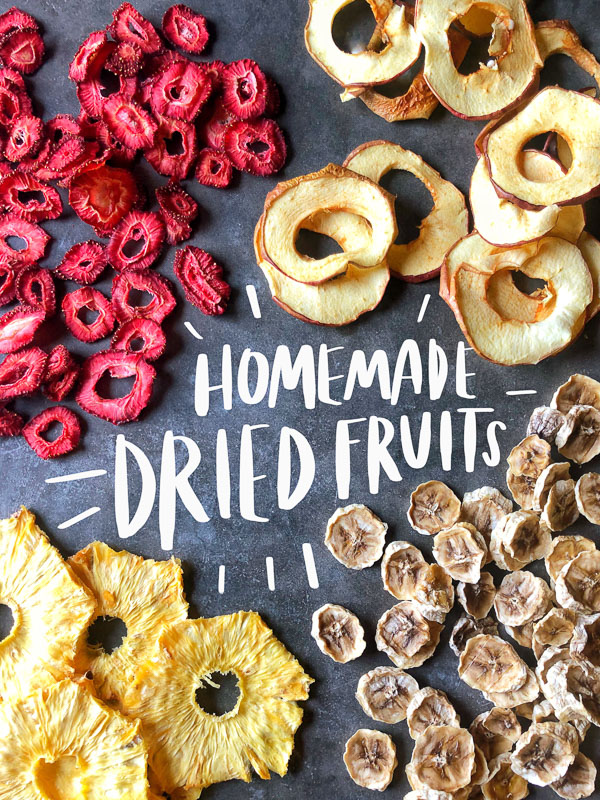
Have you ever made your own Homemade Dried Fruits?
NO?!!
Have you wanted to?
YES?!!
Well then, let me show you a fun weekend project for you!
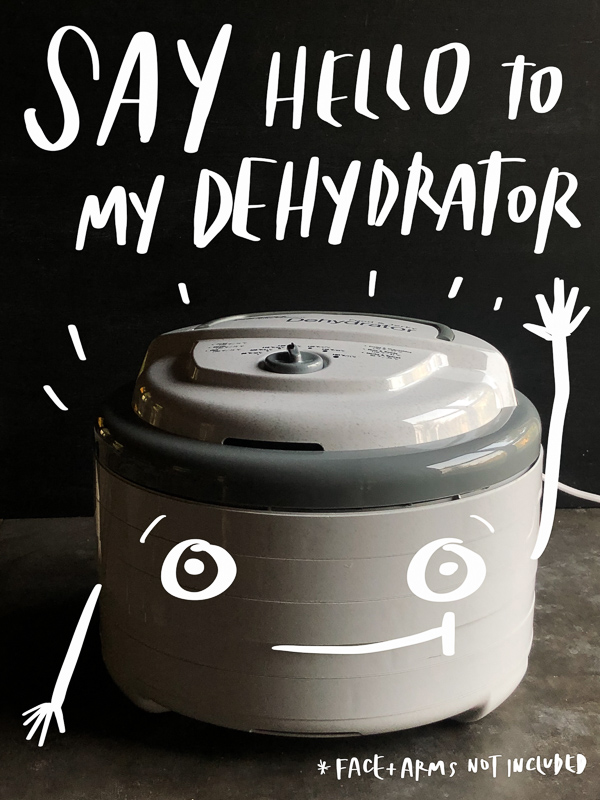
Did you say hello to my Nesco dehydrator?
This is not sponsored btw. Which means I can put arms and a face on my machine if I feel like because this is my blog.
*Face and arms not included. Although that would be kinda fun. Get the kids involved, you know.
We mostly make dried fruit and jerky in this dehydrator that doesn’t come with face and arm attachments.
TBH:
I bought this dehydrator because the price was right and I didn’t feel I was ready to invest in something substantial like this Excalibur (hello, rectangular trays and THAT NAME is so enticing! but BUDGET!). Believe me, this tool works just fine.
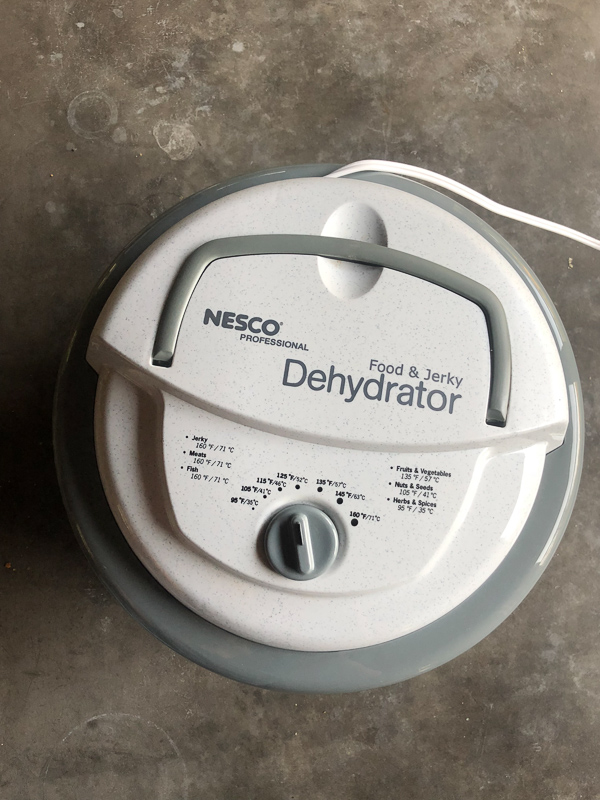
This Nesco simple temperature instructions on the top so I don’t have to chase around my manual when I need to use it.
I usually don’t read manuals. I’m a jump right in and figure it out person. Not always helpful, that trait.
Here are some trays!
You get quite a few trays to start with.
You simply stack the trays up with fruit. Add the top part, set the temperature, plug in an go.
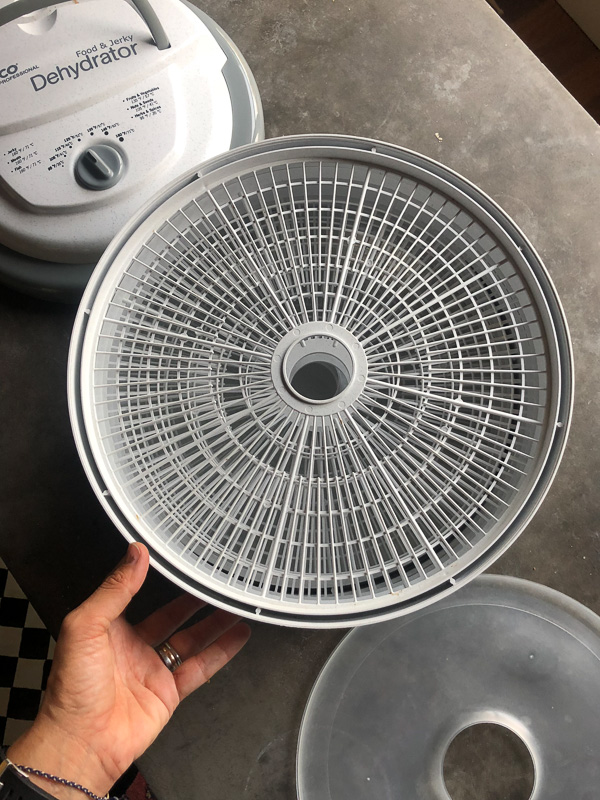
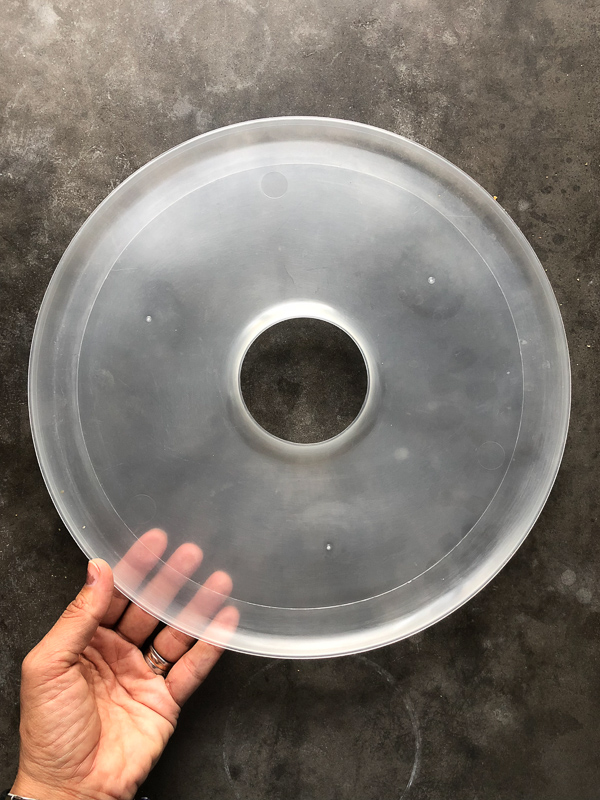
Below is the liner for the bottom. Or if you want, you can use it to make fruit leathers.
You just need to puree fruit and spread thinly/evenly on this tray.
I made strawberry fruit roll-ups (with an oven) on my blog once. True story.
The tray you see below that looks meshy?
Use this tray if you want to dry things that would easily slip through the cracks of the regular tray.
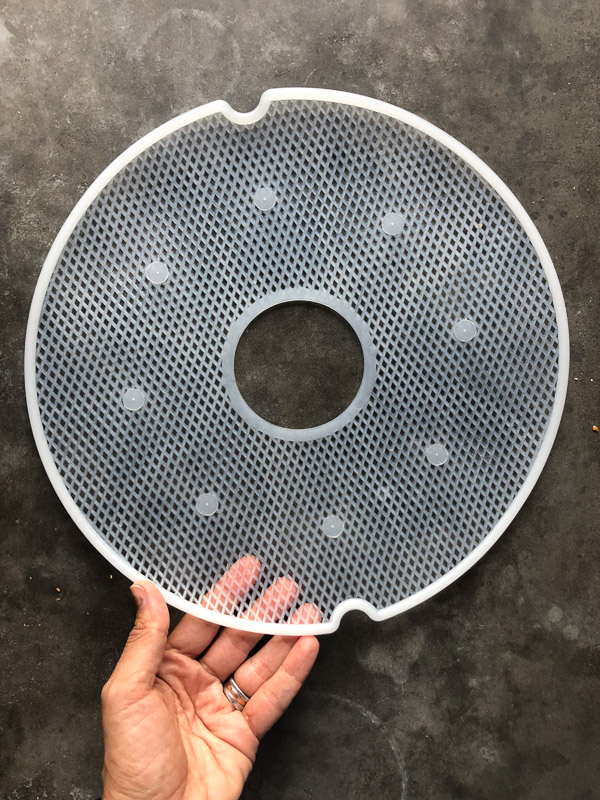
Things like:
- blueberries
- fresh herbs (you can make your own dried spices!)
- raspberries
- corn (YEAAAAHHH)
- peas
- small stuff, etc.
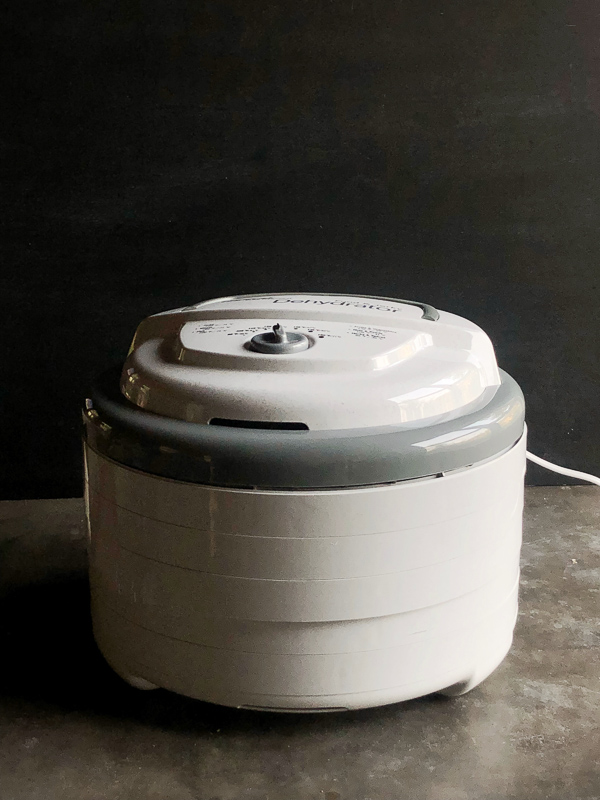
Here’s the view from the side again.
Make sure all the trays are even.
You can see that this stack isn’t perfect. If I had fruit in it, you wouldn’t get a tight seal.
Don’t do that.
Don’t be this picture.
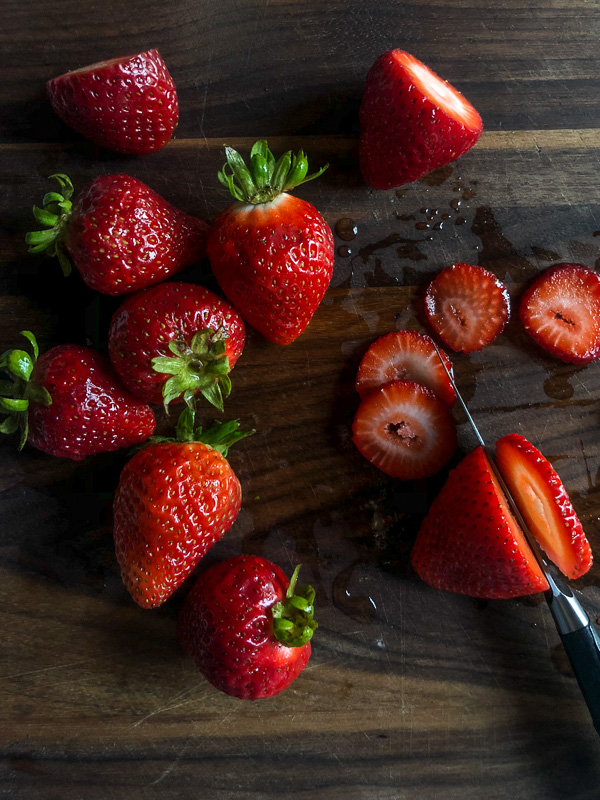
Whenever you are going to be making your own dried fruit, you have to make sure that you cut all of your produce uniformly. You don’t want size variations or else your batch won’t be dried evenly. Then you’re waiting on 4 strawberries and you’ve ALREADY EATEN the batch you pulled off.
I like most of our fruit 1/4 inch thick.
Always wash your fruit and dry it off lightly before placing it in your dehydrator.
More moisture means it will take longer to dry.
Let me show you how magical the process is.
You just load up your trays.
Set a timer for at least 8 hours. Check your progress. Add more time if needed.
Always take notes.
This is how you learn!
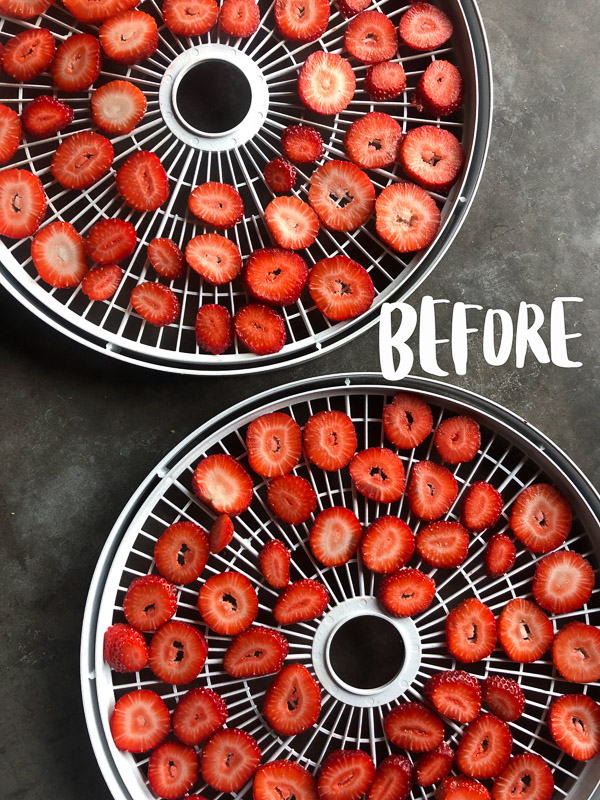
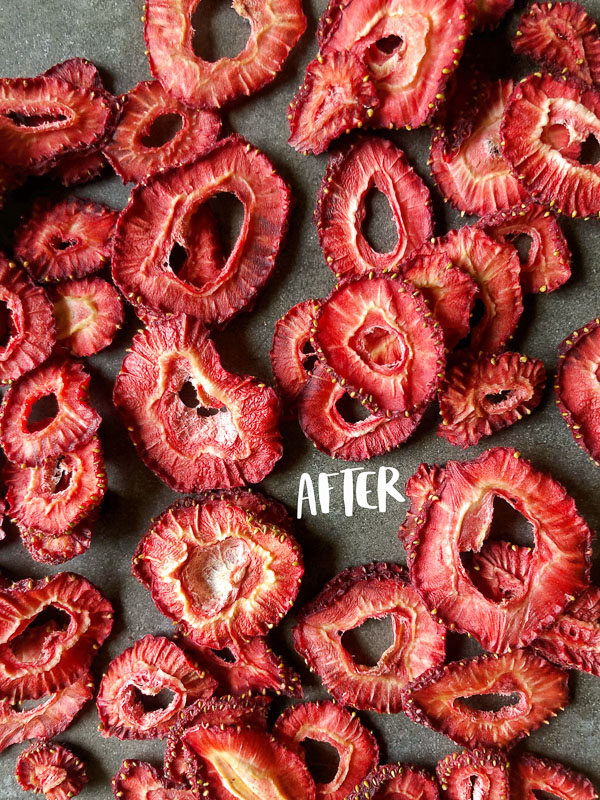
BOOM. Dried fruit.
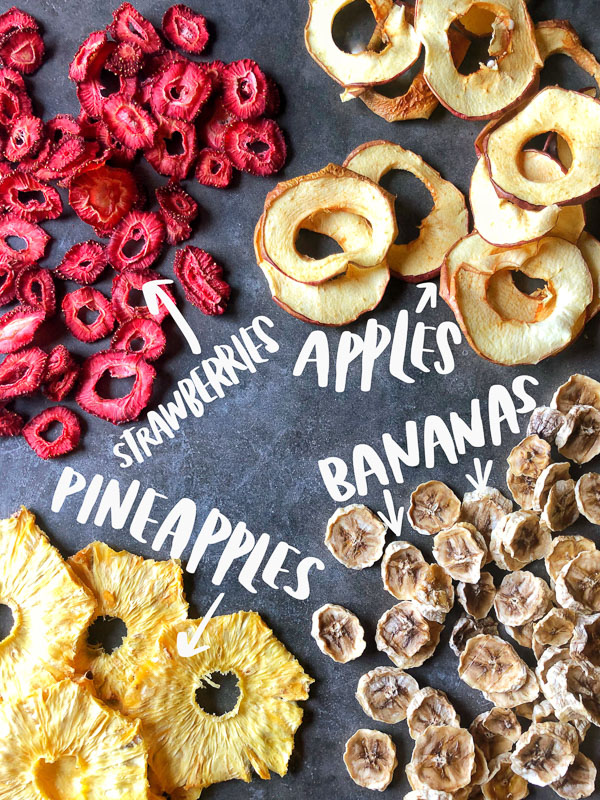
One of my favorite dried fruits to make is pineapple.
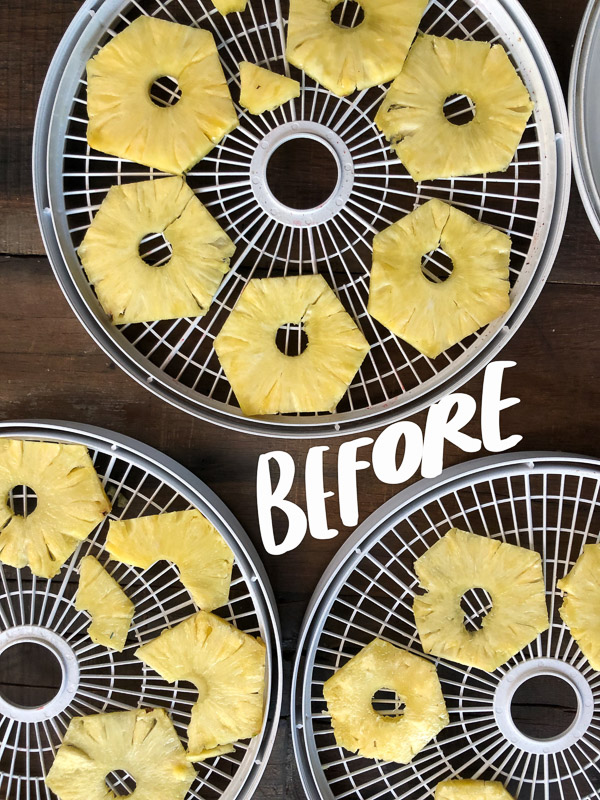
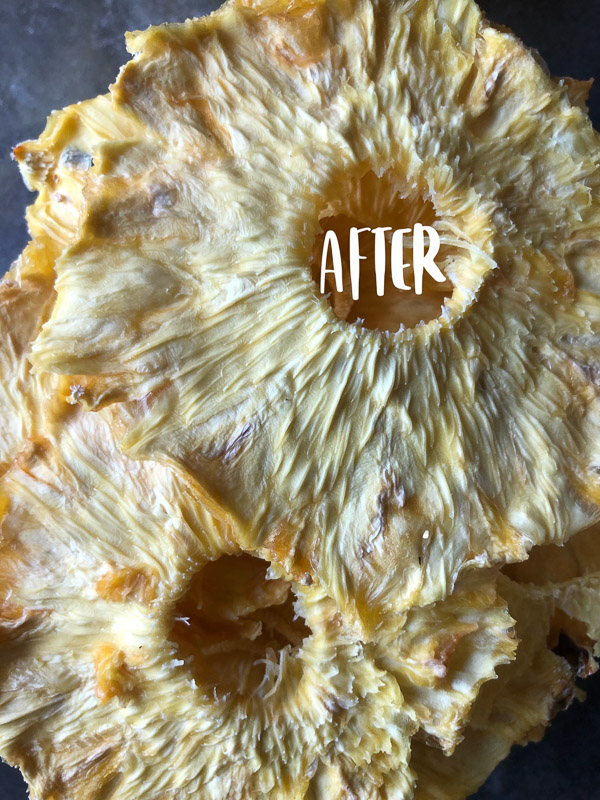
You get a lot of bang for your buck when it comes to a pineapple. Have you ever seen how much they share for dried pineapple at the grocery store? It’s nuts. They’re chewy and the edges are crispy. It tastes like candy.
I like to take the core out of ours. I just use an apple corer.
Works like a charm.
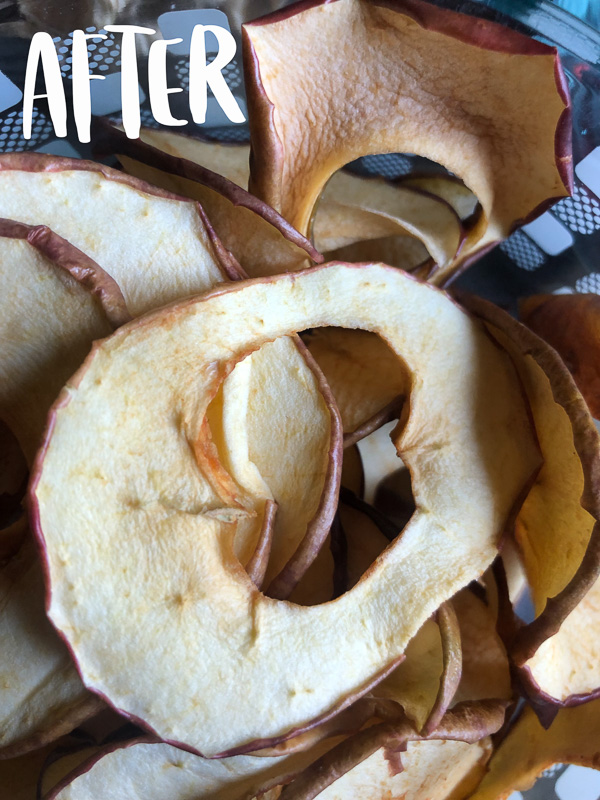
Another favorite is apples! We always have a ton of them at my house because it’s one of Cooper’s favorite fruits. If I have too many, I can whip up some dried fruit in less than a day. Pears aren’t really my favorite. The texture is a little grainy and tough.
Thank you, dear apple corer.
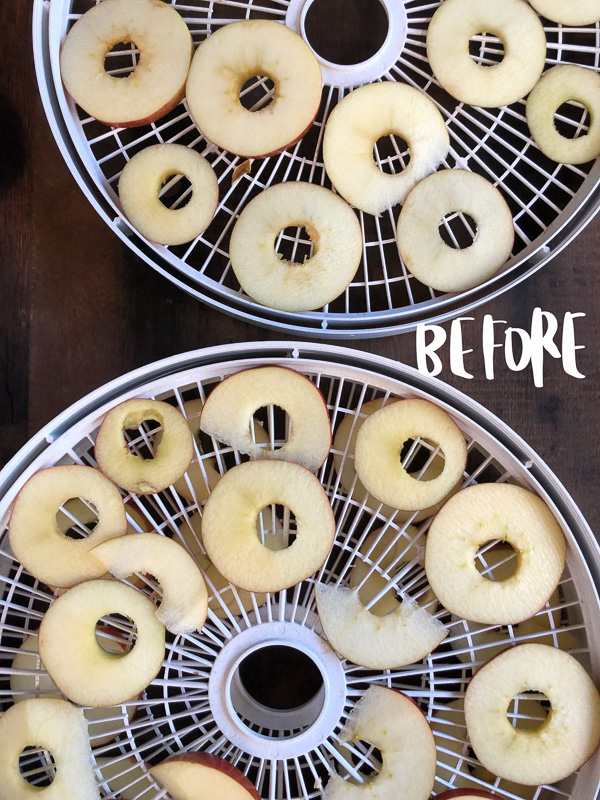
I read that if the browning aspect of the dehydration process bugs you, spray apples with a little bit of lemon juice.
It doesn’t bug me. I like them just the way they are. Sometimes when you leave the peels on the apples they can be a little sharp. My mom always told me to eat the skins because of fiber. So I leave them on. Plus it means I didn’t have to peel apples so YAY. Make sure you wash them well first!
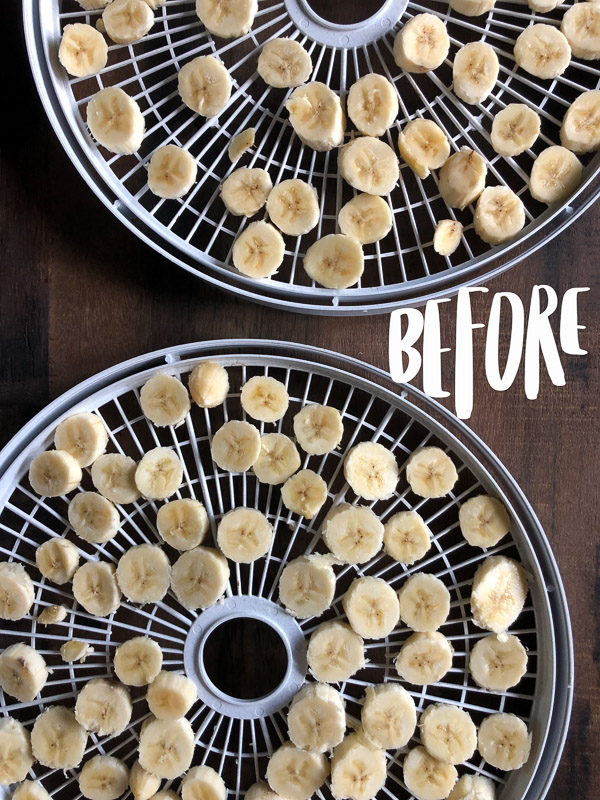
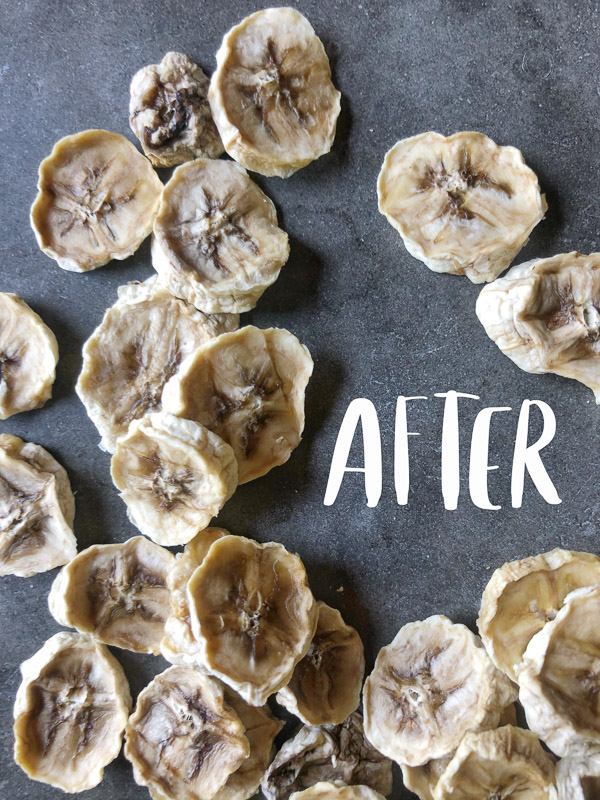
And the most loved snack according to my child is dried bananas.
The bananas aren’t like regular banana chips. They’re somewhere in between chip and chew.
Chewy chip.
Have you ever had dried mango? They’re somewhere in that texture family.
Which reminds me, I have YET to dry mangoes. Time to get on that.
Back to the bananas. Sometimes they stick to the trays so I like to spray a little coconut oil spray LIGHTLY on the trays before I put the bananas on. It makes clean up a bit easier.
They’re not pretty but they are PRETTY DANG GOOD.
Look at all of this loot! It took me a few days to process all of this.
The only thing that takes time is slicing the fruit.
It’s mostly a SET IT AND FORGET IT operation.
Don’t forget it, though.
That would be sad and dangerous.
Simple Instructions:
- Take out your brand new Nesco Dehydrator
for a spin
- Wash fruit
- Dry fruit
- Cut fruit thin, uniform slices 1/4 inch- 1/2 inch
- Don’t let fruit slices touch each other on the drying trays
- Follow instructions on manual if you need help with times
- Set a timer to check
- Don’t forget
- Check
- Let your house be perfumed by the smell of drying fruit
- Pull fruit out when it has reached desired consistency
- Store fruit in an air-tight container
- Wash the trays with warm soapy water. Use a scrubber to get in between trays.
- Enjoy and make sure you don’t eat a lot at once — that’s a lotta fiber!
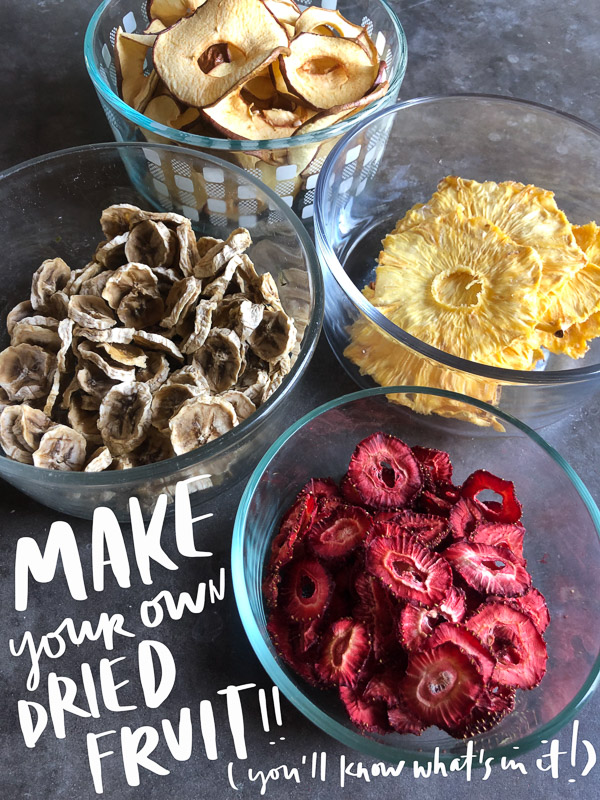
I hope this inspires you to make your own homemade dried fruit!
We are still perfecting our jerky recipes (a sometimes holiday gift from the Benjamins) and once we figure that out, I’ll post it.
If you have a dehydrator, tell me what you love using it for.
Happy snacking, friends!


