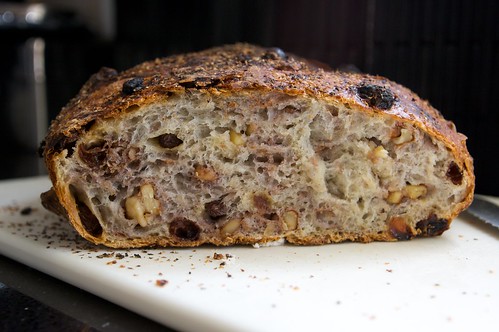
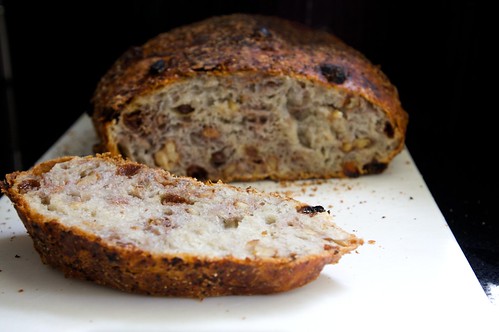
I made this recipe twice before I decided to share it with you. I thought my first attempt was a fluke because there is no way could I have made bread this good. Second time around, it was proved true. I did it! I made another angelic loaf with a crispy crunchy crust jeweled with oooey gooey raisins and toasty chunks of walnuts to boot. It’s so good that it makes me want to cry. It also makes me want to continue eating it and I might have to unbutton my jeans while I type this. Yes there are crumbs on my keyboard. Shut up!
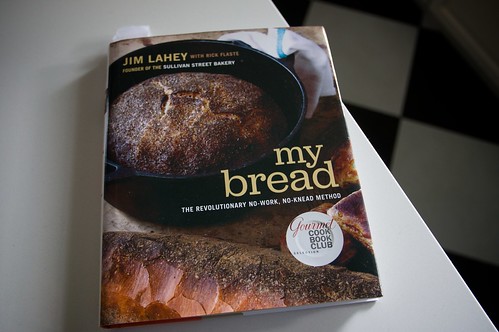
Ever heard of no knead bread? I am pretty sure you have! It’s been a sensation for the past few years on the internet and all across the country. I made my first no-knead loaf before I started blogging and was kind of obsessed. But then out of nowhere my fixation fizzled and I didn’t make a loaf for two years. I think it might have been that low-carb diet I was on. Ridiculous! Recently I saw Jim Lahey (the master behind the No-Knead method) on the Martha Stewart Show demonstrating a carrot walnut loaf from his new cookbook and my love for no knead bread was rekindled. The plain loaf is great but it always seemed like it needed something. I loved topping the bread with salted butter & jam or using it for sandwiches, but I was never satisfied with eating it on its own. So when my brother bought me his new book, I was stoked to see a bunch of recipes that helped boost the flavor of the bread.
I started with one of my most favorite kind of bread-Walnut Raisin. Good idea, huh? The raisins get super plump and you can taste a subtle hint of cinnamon with each bite. The crust is glorious; something you’d get from a bakery and the crunch is insane. The dough on the inside is soft and moist; a perfect contrast with all the crunchies. I was proud to present this loaf to my family who are serious carbophiles. We crushed that bread and left a trail of crumbs on the cutting board. It’s so easy and that’s where my fear comes in. I might be making this on a weekly basis. I even have timers set on my cellphone for the rises. Dangerous! Anyone have a good elastic pant source you wanna share?
Here’s the no knead bread time line that works best for me:
-6pm make dough, set aside
-10am next day first rise is done, start second rise
-11:30am heat the oven with the dutch oven inside
-12pm bake bread!
-1:00pm you have fresh hot bread!
Let’s get started!
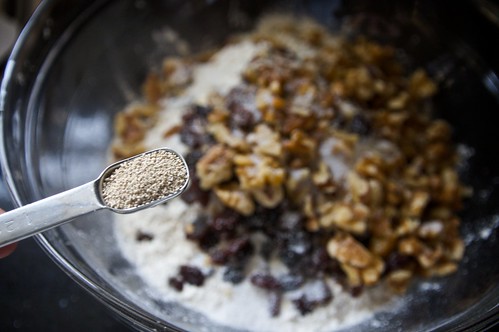
You will need walnuts, raisins, cinnamon, bread flour, yeast, salt & pepper.
Throw it all in the bowl. Including the yeast!
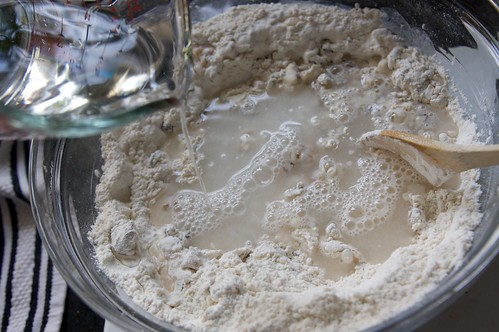
Add water. Stir for about 30 seconds. If it’s too dry, add like 2 tablespoons more water.
Cover it up and set aside.
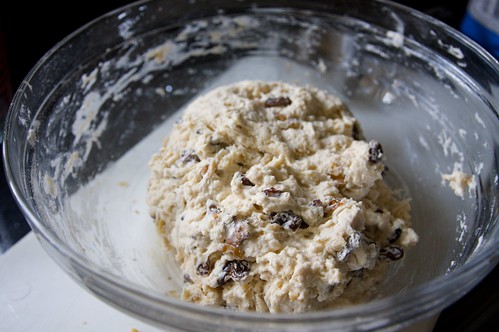
After 18 hours of rising, you get this!
Form dough into a ball. Place it on a kitchen towel covered in wheat bran for the second rise.
After about 2 hours it looks like this. Now it’s ready to go into the dutch oven that’s been heating up.
Bake for 30 minutes with the cover on. Then 15 minutes with it off.
You get this glorious loaf!
I topped my first piece with crumbled chevre & honey. YUM! It’s killer toasted with butter for breakfast too!
Pan co’Santi – Walnut Bread
recipe- The Revolutionary No-Work, No-Knead Method by Jim Lahey
Yield: One 10-inch round loaf; 1 1/2 pounds
Equipment: A 4 1/2- to 5 1/2-quart heavy pot
- 3 cups bread flour
- 1/2 cup raisins
- 1 1/4 teaspoon table salt
- 3/4 teaspoon cinnamon
- 1/2 cup walnuts
- 1 1/2 cups water
- 1/2 teaspoon instant or active dry yeast
- pinch fresh ground pepper
- wheat bran, cornmeal or additional flour for dusting (I used wheat bran)
1. In a medium bowl, stir together the flour, raisins, walnuts, salt, cinnamon, yeast, and pepper, mixing thoroughly. Add the water and, using a wooden spoon or your hand, mix until you have a wet, sticky dough, about 30 seconds. If it’s not really sticky to the touch, mix in another tablespoon or two of water. Cover the bowl and let sit at room temperature until the surface is dotted with bubbles and the dough is more than doubled in size, 12 to 18 hours.
2. When the first rise is complete, generously dust a work surface with flour. Use a bowl scraper or rubber spatula to scrape the dough out of the bowl in one piece. Using lightly floured hands or a bowl scraper or spatula, lift the edges of the dough in toward the center. Nudge and tuck in the edges of the dough to make it round.
3. Place a tea towel on your work surface and generously dust it with wheat bran, cornmeal, or flour. Gently place the dough on the towel, seam side down. If the dough is tacky, dust the top lightly with wheat bran, cornmeal, or flour. Fold the ends of the tea towel loosely over the dough to cover it and place it in a warm, draft-free spot to rise for 1 to 2 hours. The dough is ready when it is almost doubled. If you gently poke it with your finger, it should hold the impression. If it springs back, let it rise for another 15 minutes.
4. Half an hour before the end of the second rise, preheat the oven to 475 degrees F, with a rack in the lower third, and place the covered 4 1/2 – to 5 1/2 -quart heavy pot in the center of the rack.
5. Using pot holders, carefully remove the preheated pot from the oven and uncover it. Unfold the tea towel and quickly but gently invert the dough into the pot, seam side up. Cover the pot and bake for 30 minutes.
6. Remove the lid and continue baking until bread is a deep chestnut color but not burnt, 15 to 30 minutes more (It took me about 15). Use a heatproof spatula or pot holders to gently lift the bread out of the pot and place it on a rack to cool thoroughly.

